Monday, February 22, 2021

Update!


Hi, it's been awhile! If you're wondering what I'm doing now, visit me at kathyceceri.com!

Thursday, April 9, 2015

Making Simple Robots! My new book from MAKE magazine

Where to go after you've worked through the no-tech/low-tech projects in my first robobook, Robotics: Discover the Science and Technology of the Future? New from Maker Media -- publishers of MAKE magazine and sponsors of Maker Faires around the world -- my book Making Simple Robots helps newbies take it up a level, with electronics and programming activities.

Written in language that non-engineers can understand, Making Simple Robots helps beginners move beyond basic craft skills and materials to the latest products and tools being used by artists and inventors. Find out how to animate folded paper origami, design a versatile robot wheel-leg for 3D printing, or program a rag doll to blink its cyborg eye. Each project includes step-by-step directions as well as clear diagrams and photographs. And every chapter offers suggestions for modifying and expanding the projects, so that you can return to the projects again and again as your skill set grows.

I loved the challenge of learning new skills like soldering, and then figuring out how to make it simple enough for any beginner to try. I hope you'll check out Making Simple Robots and let me know what you think!

Wednesday, October 31, 2012

My New Book -- Science, Technology and Geeky Fun!

This past year has been busy -- but the result has been a new book with amazing science and geeky projects for kids and families!


Robotics: Discover the Science and Technology of the Future with 20 Projects, a book for kids ages 9-12 from Nomad Press, is packed full of information about how robots work and contains "low tech/no tech" projects based on actual robotics research. No special tools or skills are needed to build any of the working robotics models in this book -- just ordinary crafts materials and recycled electronics parts!

Robotics is available from Amazon or can be ordered by your favorite local bookstore. See sample projects and photos and read more about the books on my website Crafts for Learning  and my Amazing Robotics Projects Facebook page!

Monday, January 16, 2012

Now FInd "Home Science" Projects at Your Bookstore!


It's been a while since I updated this blog. Among the things that has been keeping me busy is contributing ideas to GeekDad editor Ken Denmead's series of activity books for parents and kids. The latest in the series, The Geek Dad Book for Aspiring Mad Scientists: The Coolest Experiments and Projects for Science Fairs and Family Fun, contains a dozen projects first seen here and on my other "home science" blogs. (Check the sidebar if you've never seen them!)


 What's even more exciting is that I'm now at work along with my three co-editors at GeekMom.com on our own book! It is due out in the Fall of 2012 from Potter Crafts, a division of Crown Publishing. And my own activity book for kids, Robotics: Discover the Science and Technology of the Future with 20 Projects, will be out this summer from Nomad Press.

There's a lot going on, but in the meantime, drop by GeekMom.com and GeekDad.com for more great family activities!

Thursday, January 13, 2011

Integrated Science at Home

If you haven't visited our current science blog, Integrated Science at Home, go take a look. We're working our way through a Teaching Company video lecture series called The Joy of Science, which explains the major science concepts using a chronological approach. The series is a handy way of making sure we cover some of the basic material we may have skimmed or skipped over in our more focused courses.

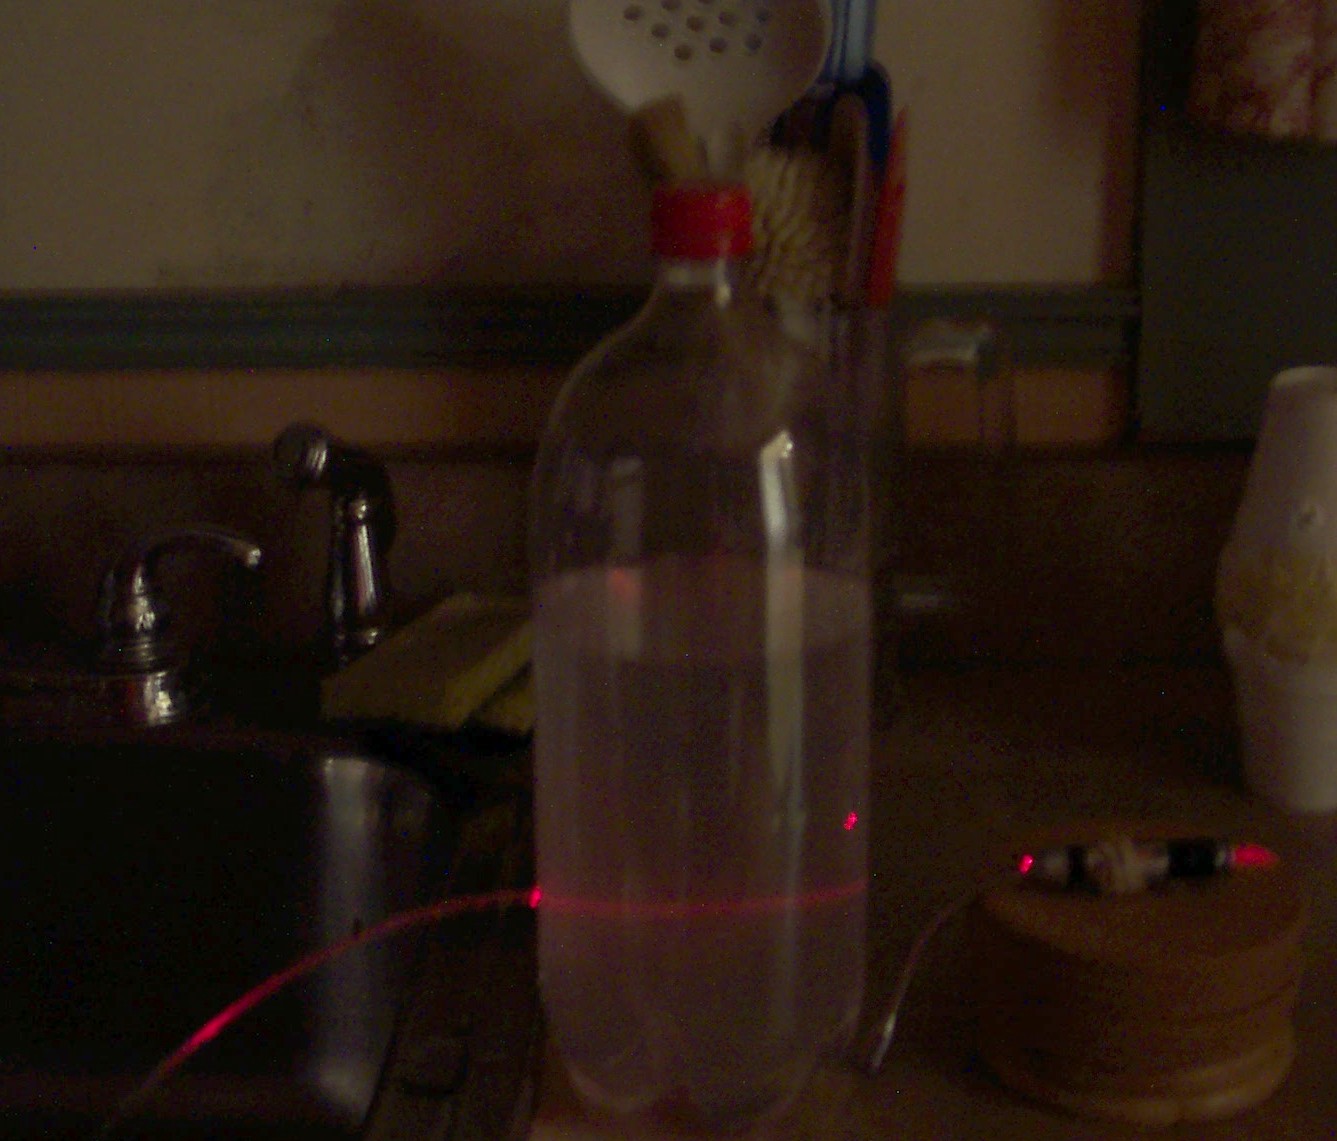
As we watch each episode, I've been jotting down ideas for labs we can do related to each topic. So far most of the topics have been related to Classical Physics. (You know, that stuff I thought would be too boring to go over last year.) I've really been enjoying the projects we've done. Tonight when it got dark we did a demonstration of Total Internal Reflection using a laser pointer and a soda bottle full of water. Check it out!

Wednesday, December 15, 2010

The Pop-up LHC: A Big Bang in a Book

My review of the pop-up book version of the Large Hadron Collider at CERN is over at GeekDad. It's a little more complicated than most pop-up books -- but then, the topic IS nuclear physics!

Buy it at Amazon!

Tuesday, November 30, 2010

Teaching Physics in Remote Places


This year we are doing "Integrated Science" using a video course by Prof. Robert Hazen called The Joy of Science. Hazen takes a chronological approach, so we are currently learning about classical physics. In the video Hazen describes simple experiments that can be done at home. We just tried one today, trying to find the declination of a compass needle towards the Earth's North Pole using paper clips, corks and a bowl of water. Our experiment had some problems, so afterwards we went online to look up other ways we could have designed it.

One resource that popped up is from The Institute of Physics is a scientific charity devoted to increasing the practice, understanding and application of physics to all audiences, from specialists to the general public. One of their resources is an online book of experiments called Teaching Physics in Remote Places. It seems perfect for doing physics in the home or classroom -- chances are your set-up isn't any more primitive than that used by the authors of this books!

Saturday, October 2, 2010

Now Blogging at GeekMom with Mythbuster Kari Byron!

I've been busy the past few months helping to launch GeekMom, a site dedicated to moms who want to share their geeky passions with their kids. To start us off, we've got MythBusters host Kari Byron writing about her new adventure as mom to a one-year-old girl. Kari is also the host of the new hour-long kids' show Head Rush. Check us out!

And I'll still be blogging at GeekDad, so be sure to stop by there too!

Tuesday, June 29, 2010

New Institute of Physics Website

The UK-based Institute of Physics is a scientific charity devoted to increasing the practice, understanding and application of physics. It has a worldwide membership of over 36,000 and is a leading communicator of physics-related science to all audiences, from specialists through to government and the general public.

From the IoP blog:

After a year in development and following several usability studies, the Institute of Physics (IOP) is today re-launching its website http://www.iop.org/.With its increased user-friendliness, the website makes it easier to navigate around and quicker to find information. Content has been specifically tailored for teachers, students, media, IOP members and those with a general interest in the Institute and physics.
 There are separate links for teachers, students, and the general public.

I also found a link to the website Practical Physics -- with over 700 experiments!  Below is an explanation of how ion trails are formed from their page on cloud chambers:

Alpha particle tracks (from Practical Physics)

Nuclear 'bullets' from radioactive atoms make the tracks in a cloud chamber. They hurtle through the air, 'wet' with alcohol vapour, detaching an electron from atom after atom, leaving a trail of ions in their path. Tiny drops of alcohol can easily form on these ions to mark the trail.

The trail of ions is made up of some ‘air molecules’ that have lost an electron (leaving them with a positive charge) and some that have picked up the freed electrons, giving them a negative charge.

Alpha particle tracks

There is no sighting of the particle which caused the ionisation, because it has left the ‘scene’ before the condensation happens. If you count the number of droplets an alpha particle might produce 100,000 pairs of ions by pulling an electron from 100,000 atoms.

Alpha particle tracks
Nuclear 'bullets' forming a trail of ions which are condensation nuclei

When the alpha particle has lost all its energy in collisions with the ‘air molecules’ it stops moving and is absorbed.

Thursday, June 10, 2010

Particle Cloud Chamber


This week, we made a cloud chamber to see radioactive particles just using dry ice. It was surprisingly easy to do, and anyone can make it. The only hassle was getting a few of the materials, and we had a couple setbacks, but when we got it working it was definitely worth it.
The set-up


All you need is:

  • A sturdy clear container (glass or plastic) which won't crack at low temperatures. We used a small Pyrex glass dish with a plastic lid from Wal-Mart.
  • A sheet of black sticky-back felt.
  • A sheet of black construction paper.
  • Isopropyl alcohol. The kind we used was 91% isopropyl alcohol, which is available in most drugstores or supermarkets. Be sure to use this in a well-ventilated space, because the fumes are poisonous and flammable. Try to avoid getting it on your skin as much as possible.
  • A Styrofoam container, like a picnic cooler. You want a container with a lid that's loose, because pressure will build up inside.
  • Winter or heavy work gloves and/or tongs.
  • Dry ice. Except around Halloween, this might be hard to find. We had to go to a welding supply store an hour from our house. It came in a 10-pound chunk, but we only used half of it. We asked them to cut it in half, so we had a flat slab. (We played around with the rest.) Bring the cooler when you go buy it. Be VERY careful with it -- dry ice has a temperature of -109 degrees Fahrenheit! Use gloves or tongs when handling it.
  • A heat source. We used a wet washcloth, folded into a square and wrapped with plastic wrap, then heated in the microwave. 
  • A bright flashlight, like an LED light.

    You'll also nee a radioactive source. We got some uranium marbles from United Nuclear which worked pretty well. For $10 you get 3 marbles and a piece of uranium ore. Keep your uranium in a plastic bag away from food, children or pets. Wash your hands after handling.
A quick side-experiment we did was light up the marbles with a blacklight, which came out really cool:


Assembly

We put a few different variations of the cloud chamber together, but we only got one to work. Our working version is detailed below, but we also have some links that have some more versions of how to make the chamber at the bottom of the post.

What we did was cut out a circle of the sticky-back felt, and attach it to the inside of the lid. We then cut a strip of construction paper and put it around the outside of the container to block out light. We left a little “window” to look in and a smaller window in the back to shine the light through.

To use the cloud chamber, we first soaked the felt with the alcohol. We did this outside. The next part was to simply place the uranium marble into the container. To hold the slab of dry ice, we set it in the lid of the Styrofoam cooler (on top of a metal tray). We put the container on top of the dry ice slab, and then put the heated washcloth on top. Last, we placed the flashlight so it shined in the back window and waited for clouds of alcohol vapor to form. This took a few minutes.
When the vapor forms, you'll see what looks like slowly-falling rain inside. Particles being emitted by the marble formed lines in the fog. If you look closely at the two photos below (click on them to enlarge), you can see the particles shooting off from the marble. Look about half an inch below the marble in the second shot and you'll see a white line heading off toward the left. That's the ionization trail.


Afterwards we decided that the experiment would have worked better if we had used a glass petri dish with a clear top, because it was hard to see through the little window.

How it works

So how do dry ice and marbles create visible particles? When the chamber is cooling down, the air can't hold the warm alcohol vapor. When this happens, the alcohol starts forming into small clouds. At the same time, the radiation source, the marble in this case, is decaying and releasing charged particles throughout the container. These particles leave a trail of ions which shoot through the vapor clouds, and make visible trails in the fog.

According to Theodore Gray's website, www.periodictable.com, the emissions from the uranium marbles are alpha particles. Other sources of radiation may also give you beta and gamma particles. (Here's a student-made explanation of the different types of radioactive decay.)

You might have to experiment with different types of chambers to get a good result. We combined two different versions, both of which work well. You can see them on YouTube. The first, from Jefferson Lab, uses a petri dish and a needle impregnated with Lead-210 as a radiation source. The second video is from Scottish student Holly Batchelor, who won the Intel International Science and Engineering Fair's First Award for physics and astronomy. She built her cloud chamber out of a plastic aquarium, and used naturally-occuring cosmic rays as her radiation source. A more complicated version by Andy Foland has diagrams explaining what you might see.

Thursday, May 20, 2010

Zombie Feynman

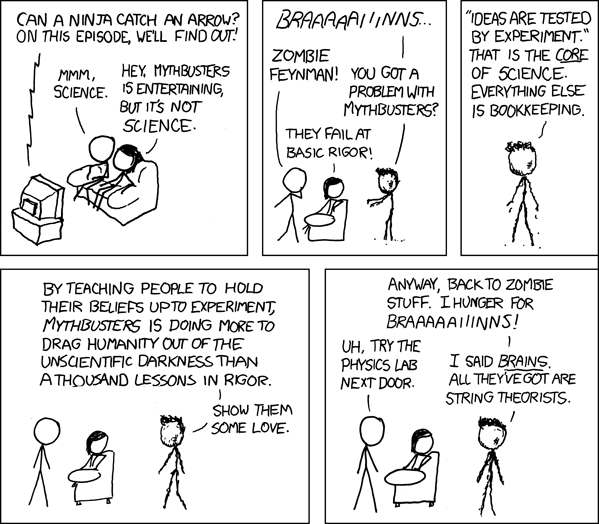
Because I was too busy getting over the flu this week to do any physics:


Friday, May 14, 2010

Physics on Stage


We just finished watching the PBS video of the play Copenhagen by Michael Frayn. It was a little tough going, but the kids got through it. From the PBS companion website:
Copenhagen is about Niels Bohr and Werner Heisenberg, two of the great scientific minds of the 20th Century, trying to make sense of a meeting they had in September 1941, while World War II raged around them. From the vantage point of the hereafter, the spirits of Bohr and Heisenberg, along with Bohr's wife Margrethe, are uncomfortable with the many unanswered questions from that fateful evening in 1941, most significantly: why did Heisenberg, a Nobel Prize winning physicist leading the German atomic bomb team, go to Copenhagen to meet with his old mentor Bohr, a half-Jewish Dane living in Nazi-occupied Denmark?

The website gives a little more background on the events and how Frayn shaped them into a play, as well as how the film version chose to visualize them. There's also a page of resources about Heisenberg's Uncertainty Principle, Quantum Mechanics, the Atomic Bomb and other scientific and literary aspects of the play. However, Frayn says on the website that a lot of the science was cut out of the play -- so maybe we should make the effort to read it as well.


A few months ago, at my suggestion, we read Tom Stoppard's play Arcadia with our bookclub. Arcadia is less obviously about physics, and it is also funny, so I think the kids probably enjoyed it a little more than Copenhagen. Although it's somewhat bawdy, Arcadia does touch on a lot of higher math and physics. If you understand something of those concepts, it adds to the comedy. I was lucky enough to see a live performance of Arcadia by the theater department of Skidmore College several years ago. The entire freshman class read the play, and it was taught in several different departments. (You can see some essays dealing with different aspects of the play on the Skidmore website.) However, it is rarely performed, and I can't find a video of the play for the kids. Hopefully they'll get to see it sometime.

There are other plays, stories and novels dealing with physics that we may get to at some point. But in the meantime, you can see some of my other suggested literary tie-ins by clicking on the link for my Amazon store in the sidebar on the right of the screen.

Monday, May 10, 2010

7 Wonders of the Quantum World


Over at New Scientist, Michael Brooks tours the quantum effects that are guaranteed to boggle our minds.

From undead cats to particles popping up out of nowhere, from watched pots not boiling – sometimes – to ghostly influences at a distance, quantum physics delights in demolishing our intuitions about how the world works.

Thursday, April 22, 2010

PBS Nova's The Ghost Particle and The Particle Adventure

I picked this DVD of The Ghost Particle off the library shelf because it deals with neutrinos, neutrally-charged particles which were originally believed to be massless energy, but which are now believed to be the basis for all mass in our universe. Although a little dated (it's from 2004) it was short and interesting. There is a PBS Nova companion website, but I don't think it adds much to the video itself. The classroom activities involve guessing what's in a box -- good perhaps on a conceptual level, but not really "physics."

So we are working on putting together a lab in which we build a small cloud chamber to detect radiation from cosmic rays and/or slightly radioactive material (such as thorium mantles from Coleman lanterns). However, we still need a good background on subatomic particles. For that, I think I will have the kids look over a website called The Particle Adventure.

It gives information in little bite-sized portions, along with trivia questions such as:
For how many years have physicists known that there were more than just protons, neutrons, electrons, and photons? Answer: 60 years! In the 1930's physicists found muons, but hundreds more were found with high energy accelerators in the 1960's and 1970's.
 (Follow-up question:  How many components of matter other than protons, neutrons, and electrons did you learn about in high school physics? My answer: None!)
Reblog this post [with Zemanta]

Monday, April 12, 2010

Tape Emissions


In 2008, scientists found that they could generate enough X-ray radiation to take an image of a researchers finger simply by unrolling a roll of adhesive tape. As the video above shows, the trick is to unroll the tape in a vacuum. According to Scientific American:
The reason, says Camara: electrons (negatively charged atomic particles) leap from a surface (peeling off of glass or aluminum works, too) to the adhesive side of a freshly yanked strip of tape, traveling so fast that they give off radiation, or energy, when they slam into it.
In a regular atmosphere, the electrons still give off radiation, but because the air molecules slow them down, they appear in the visible spectrum.

We tested this in a dark room (so dark that you can't see) using both adhesive tape and duct tape. Peeling the tape off quickly gave off a bright blue flash, but peeling it slowly produced a steady blue line where the tape was unrolling from the roll. With adhesive tape, at least, we could create the effect again and again with the same piece of tape. It's called called triboluminescence-- the same process that creates sparks when you bite into Wintergreen Life Savers.

Our little camera wasn't sensitive enough to pick up the blue flash, but here's a YouTube video made by someone with better equipment:


Reblog this post [with Zemanta]

Friday, April 2, 2010

LaserFest Video Contest -- Win $1,000!

The American Physical Society is holding a contest for short videos that use lasers to demonstrate physics. I think we'll have to enter this one! From their website, physicscentral.com:

Do you love lasers? Ever wanted to unravel the mystery of the stimulated emission? Then the LaserFest video contest is for you. Take any laser you want and use it to somehow express a physics concept. Shine, lase, bounce and wave your way into physics history.

The winner will receive a trophy lovingly made by APS staff from some of our favorite laser toys as well as $1,000 cash. All entries must be received by May 16th at midnight.
Reblog this post [with Zemanta]

Tuesday, March 30, 2010

Today is First Physics Day

The CERN Large Hadron Collider had its first stable event about an hour ago. Watch the live webcast!

The New York Times says:

Rolf Heuer, director general of CERN, speaking from Japan, said the new collider “opens a new window of discovery and it brings, with patience, new knowledge of the universe and the microcosm. It shows what one can do in bringing forward knowledge.” He added: “It will also bring out an army of children and young people who will get into the private sector and academia.”
Yesterday I posted on GeekDad about our visit with Chad Orzel, author of How to Teach Physics to Your Dog, at his lab at Union College. One commenter felt that there is no reason for non-scientists to spend time trying to understand this stuff. But the reason is that physicists need the public to fund their research and understand the significance of their discoveries. It was lack of public interest that led to the end of the US's attempt to build the time of facility that now exists in Europe. According to the Times:

The first modern accelerator was the cyclotron, built by Ernest Lawrence at the University of California, Berkeley, in 1932. It was a foot in diameter and boosted protons to energies of 1.25 million electron volts, the unit of choice for mass and energy in physics. By comparison, an electron, the lightest well-known particle, is about half a million electron volts, and a proton about a billion.

Over the last century, universities and then nations leapfrogged each other, building bigger machines to peer deeper into the origins of the universe. But the end was decreed in 1993, the U.S. Congress canceled the Superconducting Supercollider, a 54-mile 20-trillion-electron-volt machine being built underneath Waxahachie, Texas, after its projected cost ballooned to $11 billion.


Reblog this post [with Zemanta]

Thursday, March 25, 2010

The Famous Double-Slit Experiment and the DIY Quantum Eraser

In How to Teach Physics to Your Dog, author and Union College Physics Professor Chad Orzel talks about an extension of the Double-Slit Experiment called the Quantum Eraser. According to Orzel -- and before him to physicist and wise guy Richard Feynman -- everything the average person needs to know about Quantum Physics is contained in the Double-Slit Experiment.
When Thomas Young first did the Double-Slit Experiment in 1803, he proved that light travels in a wave. He showed this by aiming a narrow beam of light at a barrier with one or two slits and placing a screen behind it. When the light went through one slit, it hit the screen in a single blob. But when it went through two slits, the light on the screen spread out into many stripes of dark and light -- which is what you would see if two waves were overlapping to create an interference pattern.

When Quantum Physics was introduced, the experiment was done with a stream of photons passing through the slits one photon at a time. Amazingly, over time the individual photons also created an interference pattern on a screen on the other side -- meaning that each single photon was interfering with itself as it passes through both slits at the same time!

The Quantum Eraser experiment just makes this weird result even weirder. First polarizing lenses with different orientations are put in place so that you can tell whether the light went left or right through the slits. "Labeling" the photons in this way makes the light go back to acting like particles -- the interference pattern is erased. And if you add still another polarizing filter, so that you can't tell which way the particles went, the pattern reappears!

When I read in Orzel's book that the May 2007 issue of Scientific American had a Quantum Eraser experiment you could do at home, I knew I had to try it! After a bit of searching, I was able to find the article online. (Actually, what I found is everything but the article, but the sidebars and other content include everything you need to do the experiment.) Like a lot of demonstrations that we try, it was a little hard to tell what, if anything, was happening, and I'm not sure it was completely successful. However, the results we did get were good enough to be worth sharing here. The article includes some trouble-shooting tips that may produce better outcomes if we ever try it again.

The experiment consists of four parts:
  1. Create a double-slit set-up using a cheap laser pointer as a light source.
  2. Add a right/left polarizing filter.
  3. Hold up a polarizing filter on a diagonal, which allows some "left" and some "right" particles to pass through.
  4. Make a polarizing lens which filters light on one diagonal on the top and the other on the bottom and add that to the set-up.
Obviously, since we were using a cheap laser pointer and weren't sending light through one photon at a time, this experiment doesn't prove that a single particle will go both ways at once, but it does give you a good approximation of what happens on a quantum level. Below is a description of what we did:

Materials:
  • laser pointer pen (from the supermarket)
  • polarized film (we used the lenses from cardboard 3D movie glasses)
  • thick rubber band
  • white foam-core board (for projection screen)
  • Styrofoam cups
  • unused twist ties
  • tape

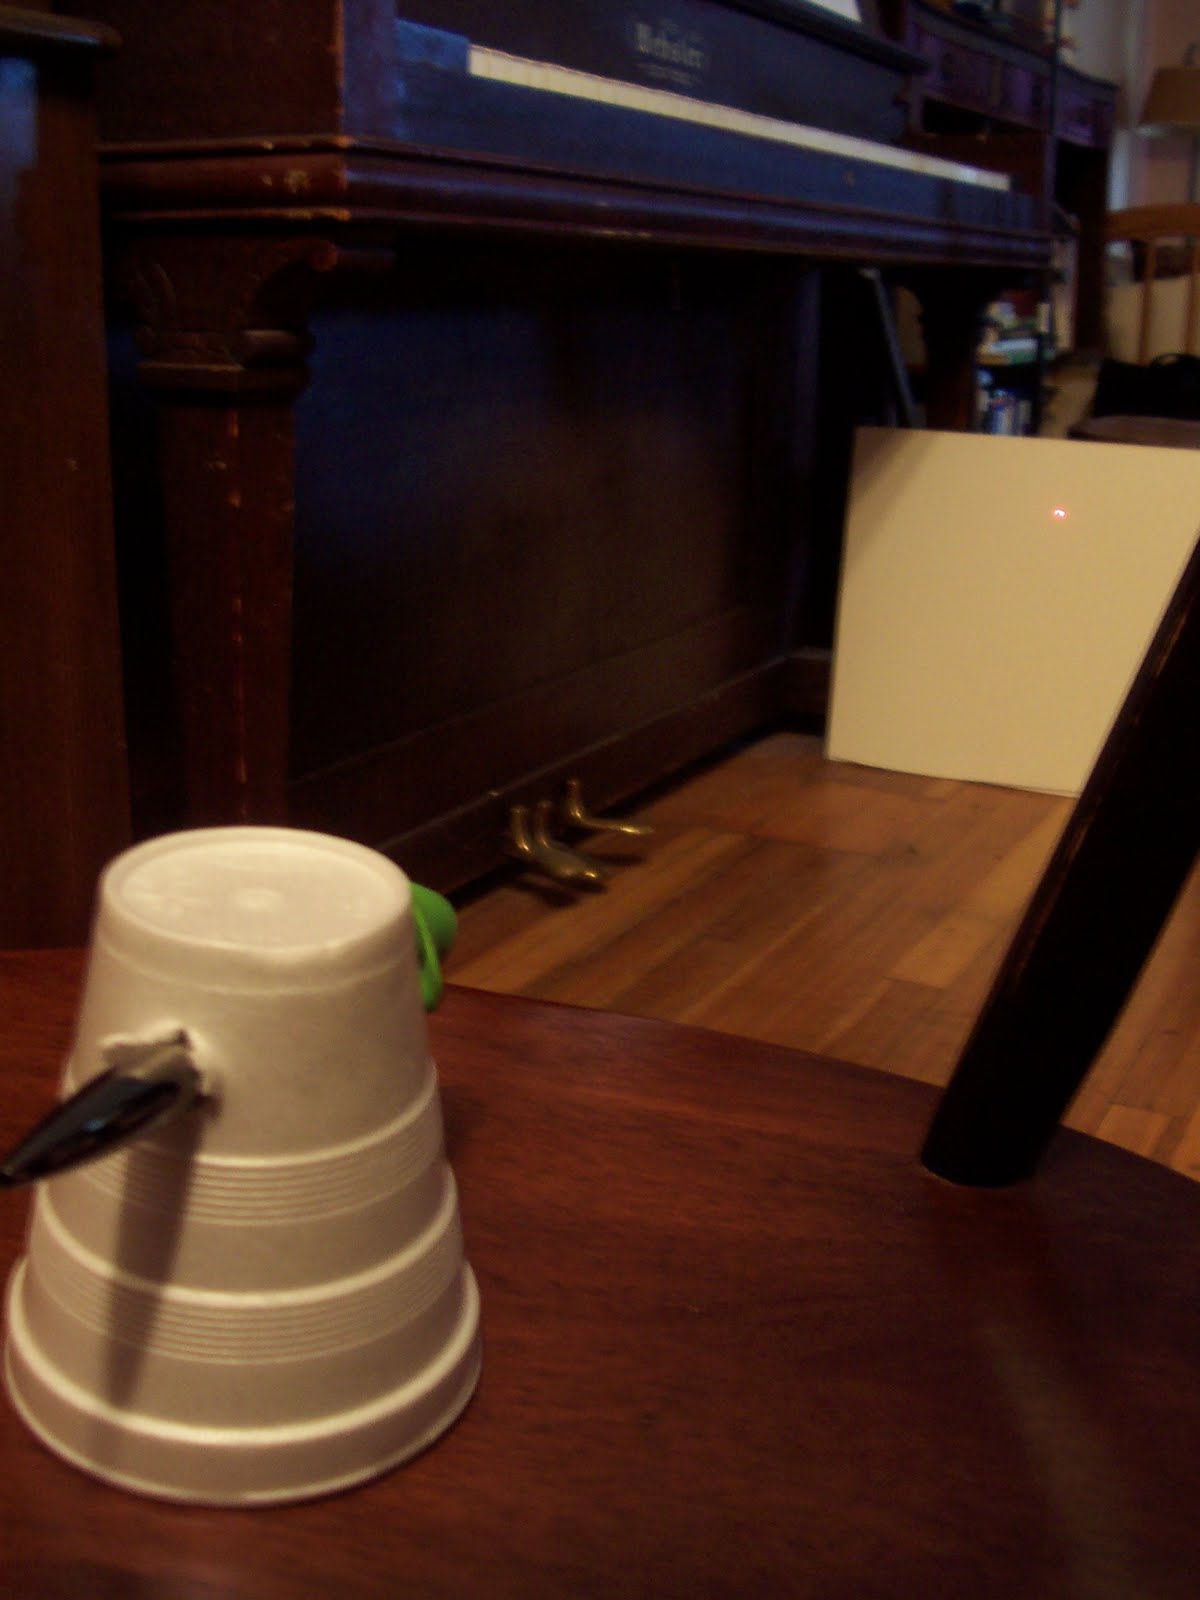
  1. First we made a stand for the laser pointer pen by pushing it through an upside-down Styrofoam cup.
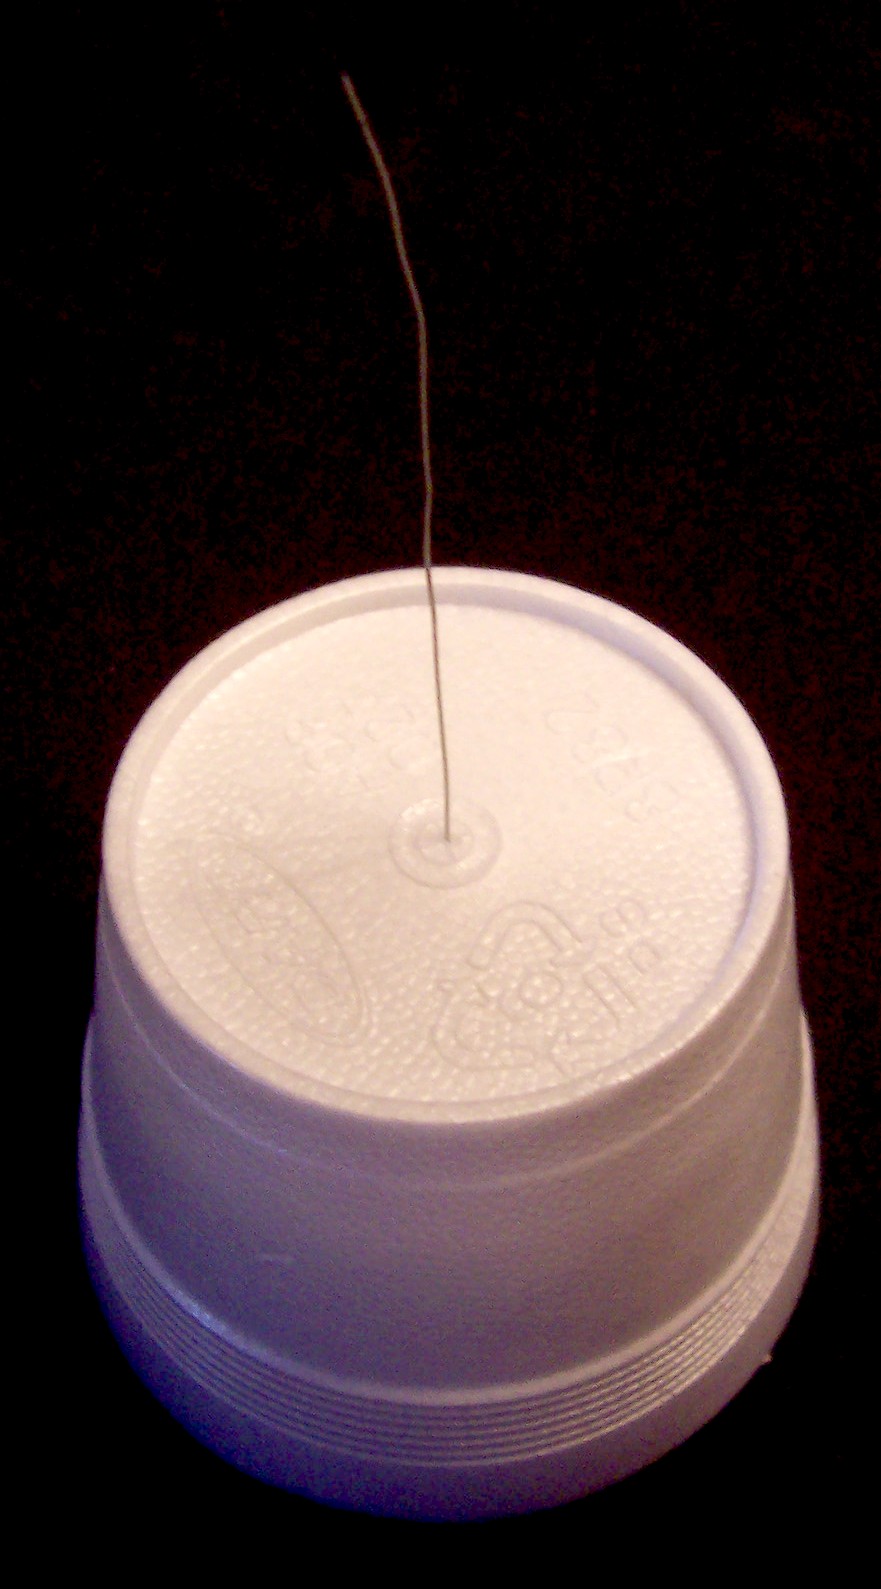
  2. Instead of a barrier with a slit, this version uses a vertical piece of wire to divide the light into "right" and "left." We cut the paper off of a twist tie and removed the wire without bending it. Then we made a stand for the wire by cutting around the top of a foam cup to make it shorter than the laser stand. We turned the cup upside down and poked the wire through the bottom so that it was standing straight up.
  3. We wrapped a rubber band around the laser's ON button so that it would stay on.
  4. The laser was put in its holder and placed on the seat of a chair. The foamcore projection screen was set up by leaning it against a chair about 6 feet away. We could see a small dot of laser light on the screen. (See directly above.)
  5. Then the wire in its holder was set up a few inches away from the laser. We moved it until it was in the path of the laser light. An interference pattern appeared! (Photo at top of post.)
  6. To make the labeler, we took the polarized glasses, and marked the lenses "right" and "left."  Then we cut them out, leaving the cardboard frame around everywhere but the inside edge (towards the nose piece). The two lenses were taped together so that the inside edges were just touching (no overlap or gap). Another twist-tie wire was taped along the join and trimmed.
  7. A holder was made by cutting off the top of another foam cup, then slicing a slot across the bottom. The labeler was set into the slot so that the wire was vertical in the center.
  8. The labeler was put in place of the plain wire. The light hitting the screen returned to blob form.
  9. Taking another pair of polarized lenses, we held up the "left" and "right" lens at a 45 degree angle between the labeler and the screen. At this point the light projected on the screen was hard to make out, but it did seem to spread out again like an interference pattern.
  10. Finally, we took a left and right lens, cut them on a diagonal, and taped them together so that one was on top and one on the bottom. According to the SciAm directions, we should have seen an interference pattern split so that the top was off to one side and the bottom to the other, like misaligned teeth. All we could see was misaligned blobs, though. (See below.)
As I said, if we try this again we will try moving some of the parts around to get better results. Just for the record, the glasses we used had lenses which were tilted at 45 degree angles, rather than the traditional horizontal and vertical. However, they were still perpendicular to each other, and we rotated each the proper amount from its starting point, so I don't think it mattered.

In my opinion, we achieved some interesting effects, for a living-room physics lab.
Reblog this post [with Zemanta]

Monday, March 22, 2010

What Every Dog Should Know About Quantum Physics

Union College Physics Professor Chad Orzel was kind enough to give a talk based on his new book, How to Teach Physics to Your Dog to a group of local homeschoolers I organized. Even better, he posted the video and slides he showed us in the talk on his blog! The presentation included a look at helium and neon lights using diffraction grating and a demonstration of the double-slit experiment using a laser beam. I'm adding the books he recommended -- some for a popular audience, some aimed at freshman physics students -- to my Amazon store as well.

After the talk, Dr. Orzel brought in his famous dog and co-author Emmy for a photo op. Then we got a tour of his laser cooling lab, the school's own basement particle accelerator, and the astronomy department's observatory. One interesting fact about Union is that, because there are no graduate students to compete with, undergraduates get to use the fancy equipment right from the start.

The talk was entertaining and informative. As you can see, the kids were as interested as the parents. Thanks to Dr. Orzel for such a great program!

UPDATE: Listen to an interview with Chad Orzel from WAMC Northeast Public Radio.
Reblog this post [with Zemanta]